Stop Overspending: Your Easy Guide to Peeling and Deveining Shrimp
Are you tired of paying premium prices for pre-prepped shrimp at the seafood counter? Many home cooks find themselves in this predicament, often feeling intimidated by the prospect of handling raw, whole shrimp. Its armored shell and "hairy" legs can indeed seem daunting, especially if you didn't grow up with a professional chef in the family or by the coast. But what if we told you that mastering how to peel and devein shrimp is one of the easiest and most rewarding kitchen skills you can learn?
You're about to discover that this seemingly complex task is actually quick, simple, and incredibly empowering. Once you get the hang of it, you'll unlock significant cost savings, enjoy superior flavor and texture in your dishes, and gain the confidence to tackle any shrimp recipe. Say goodbye to overpriced, pre-cleaned shrimp and hello to fresh, perfectly prepped seafood, all done by your own hands. Let's dive in and transform you into a shrimp-peeling pro!
Why You Should Master Peeling and Deveining Shrimp
Beyond the immediate financial benefits, there are several compelling reasons to embrace the art of peeling and deveining your own shrimp:
- Significant Cost Savings: Pre-peeled and deveined shrimp can cost anywhere from 20-50% more per pound than its whole, shell-on counterpart. Over time, these savings add up, allowing you to enjoy shrimp more frequently or in larger quantities for the same budget.
- Superior Freshness and Flavor: When you buy whole shrimp, you're often getting a fresher product. The shell acts as a natural protective barrier, helping to preserve the shrimp's delicate flavor and texture until you're ready to cook. Pre-peeled shrimp can sometimes dry out or lose some of its vibrant taste.
- Better Texture: Proper peeling and deveining ensures a clean bite and avoids the gritty texture that can come from the digestive tract. This attention to detail results in a far more enjoyable culinary experience. For a deeper dive into why this step is crucial, check out The Essential Guide: Why You Must Peel and Devein Shrimp.
- Kitchen Confidence: Adding this skill to your repertoire will boost your confidence in the kitchen, making you feel more capable and adventurous with seafood. It's a foundational technique that opens up a world of new recipes.
Essential Tools for Peeling and Deveining Shrimp
You don't need fancy gadgets to effectively peel and devein shrimp. In fact, you likely already own most of what's required:
- Small Paring Knife or Sharp Kitchen Shears: A small, sharp paring knife is ideal for making the shallow cut along the shrimp's back. Alternatively, sharp kitchen shears can be even easier and safer for beginners, especially for cutting through the shell. For more on beginner-friendly methods, consider reading Peel and Devein Shrimp Like a Pro: A Beginner-Friendly Method.
- Cutting Board: A stable surface to work on.
- Two Bowls: One for the discarded shells and heads, and another for the cleaned shrimp. This helps keep your workspace organized and hygienic.
- Running Cold Water: Essential for rinsing the shrimp thoroughly after deveining.
- Paper Towels: For drying your hands and the shrimp, if desired, before cooking or marinating.
Step-by-Step Guide: How to Peel and Devein Shrimp Like a Pro
Ready to get started? Here's your detailed, easy-to-follow guide to perfectly prepped shrimp.
Step 1: Head Removal (If Applicable)
If your shrimp still have their heads attached, don't fret! They come off easily. Simply hold the shrimp in one hand and gently twist or pull the head away from the body with the other. You can discard the heads, or, for an extra layer of flavor, save them (along with the shells) to make a delicious seafood stock.
Step 2: Peeling the Shell
The shell might look like armor, but it's surprisingly simple to remove.
- Locate the Legs: Start by holding the shrimp with its underside (where the tiny legs are) facing you.
- Begin Peeling: Using your thumbs, begin pulling off the shell near the legs. You might feel a slight crack as you detach it from the flesh.
- Peel Towards the Tail: Continue peeling the shell sections, working your way down the body of the shrimp. For larger shrimp, you may need to be a bit more assertive as their shells can be tougher.
- Tail On or Off? This is a matter of preference.
- Leave the Tail On: This often makes for a more elegant presentation, especially for dishes where you want a handle (like shrimp cocktails or scampi). It's also suitable for dishes where the shrimp is lightly cooked and easily picked up.
- Remove the Tail: For dishes like shrimp curries, stir-fries, or tacos where the shrimp will be fully incorporated and eaten with a fork, removing the tail makes for a much easier eating experience. To remove, simply pinch the base of the tail with your fingers and gently slide it off.
Place the removed shells (and any heads) into your designated discard bowl.
Step 3: Deveining the Shrimp
This is arguably the most crucial step for hygiene and an optimal eating experience.
- Locate the "Vein": The dark line running along the back (the convex side) of the shrimp is its digestive tract. It's often dark, but can sometimes be lighter or less visible.
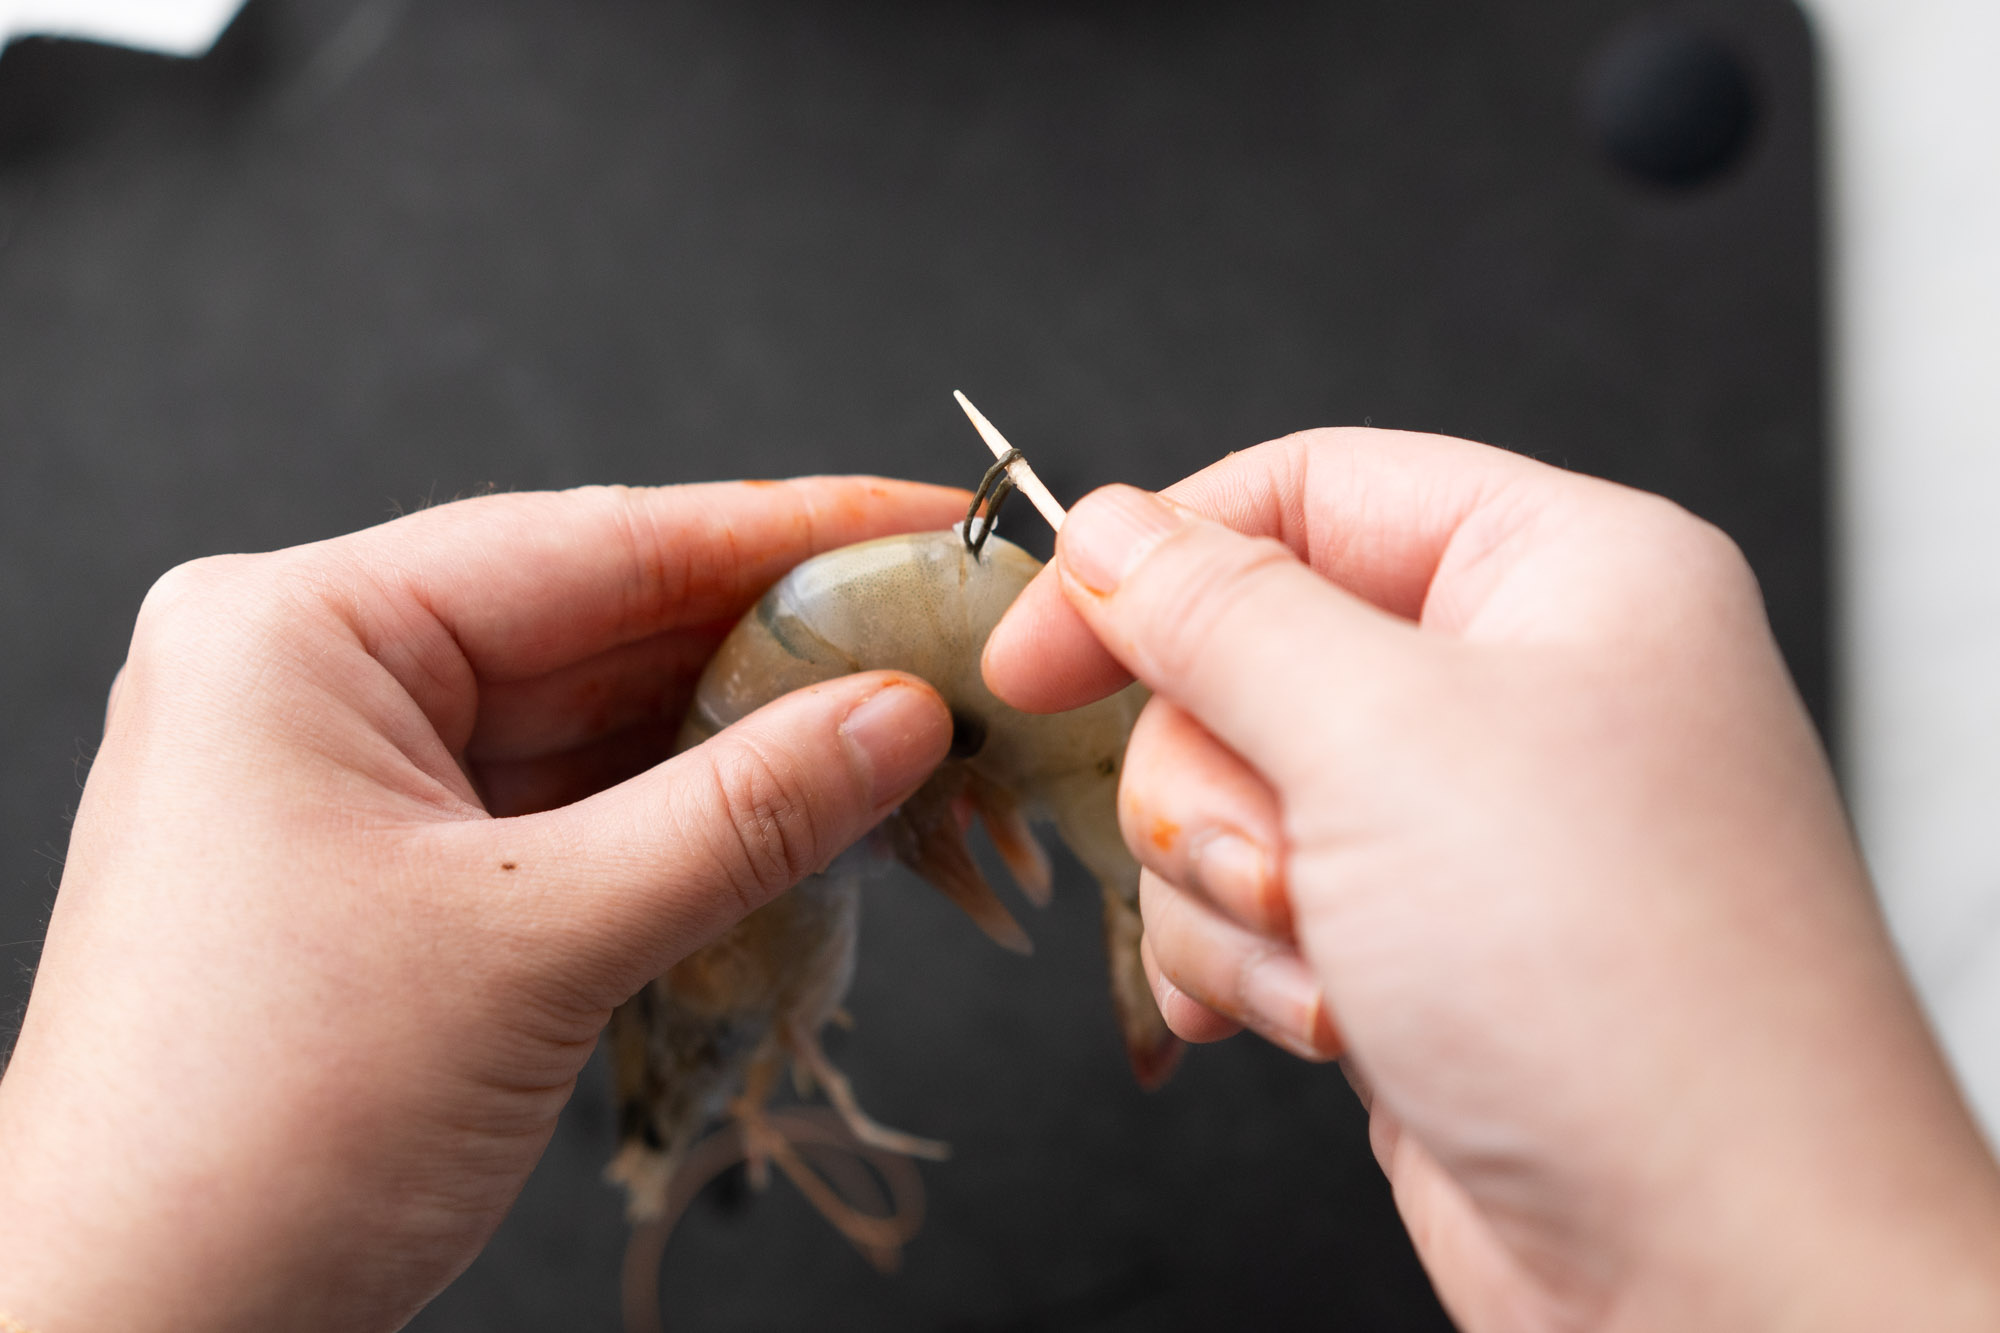
- Make a Shallow Cut: Using your small paring knife or the tip of your kitchen shears, make a very gentle, shallow cut along the top of the shrimp's back, from near the head end down towards the tail. You only need to cut through the thin top layer of the flesh, just deep enough to expose the vein.
- Extract the Vein: Once exposed, use the tip of your knife, your fingers, or the tip of the shears to gently lift and pull out the dark string. It should come out relatively easily. If it breaks, simply continue to pull out any remaining pieces.
- What If You Can't See a Vein? Don't panic! Some shrimp may have a very clear, dark vein, while others might have a barely visible one, or even none at all (meaning their digestive tract was empty). If you've made the cut and don't see a significant dark string, that's perfectly fine. Just proceed to the rinsing step. The important thing is to make the cut to check.
Step 4: Rinsing and Prepping for Cooking
The final step ensures your shrimp are pristine and ready for your recipe.
- Rinse Thoroughly: Place your deveined shrimp under a gentle stream of cold water. Gently rub them to wash away any remaining shell fragments, stray bits of vein, or any grit/sand that might be present.
- Drain and Dry: Place the cleaned shrimp in your second clean bowl or a colander to drain. If your recipe calls for dry shrimp (e.g., for searing or stir-frying), gently pat them dry with paper towels.
- Ready to Cook: Your shrimp are now perfectly peeled and deveined, ready for marinating, cooking, or freezing for later use!
The Indisputable Importance of Deveining Shrimp
While some people might argue that leaving the shell on adds flavor (and it can, especially for broth), consuming the contents of the digestive tract itself is generally not recommended for several key reasons:
- Hygiene and Food Safety: The "vein" is literally the shrimp's intestinal tract. It contains everything the shrimp ate, including organic matter, dirt, and potentially sand. While not inherently harmful in small amounts, it's far more appetizing and hygienic to remove it.
- Taste and Texture: That gritty, sandy texture many associate with improperly prepped shrimp? That's often the digestive tract. Removing it ensures a smooth, clean bite every time. It prevents any unpleasant, bitter, or muddy flavors from tainting the delicate taste of the shrimp itself. Even if the vein isn't visible, the potential for grit remains, which is why making the shallow cut and rinsing is always a good practice.
- Culinary Refinement: Professional chefs and culinary enthusiasts universally agree that proper deveining is a sign of good cooking and attention to detail. It elevates the dining experience from good to exceptional.
Advanced Tips & Tricks for Efficiency
- Work with Cold Shrimp: Shrimp are easiest to handle when they are very cold. Keep them refrigerated until you're ready to start, or even work over a bowl of ice to keep them chilled.
- Set Up an Assembly Line: If you're cleaning a large batch of shrimp (a pound or more), create an efficient workflow. First, remove all heads. Then, peel all the shells. Finally, devein all the peeled shrimp. This method can save time and streamline the process.
- Save Your Shells for Stock: Don't throw away those shrimp shells and heads! Sauté them with a little olive oil, garlic, and herbs, then simmer with water for 30-45 minutes to create a rich, flavorful seafood stock. This stock is fantastic for paella, risotto, gumbo, or any seafood-based soup or sauce.
- Gloves for Sensitivity: If you're sensitive to seafood smells or prefer not to touch the raw shrimp directly, wear disposable kitchen gloves.
Conclusion
Learning how to peel and devein shrimp is a truly transformative skill for any home cook. It not only saves you money but also guarantees a fresher, cleaner, and more enjoyable shrimp-eating experience. With just a few simple tools and the step-by-step guidance provided here, you can confidently prepare shrimp like a seasoned pro. Practice makes perfect, so don't be afraid to try it a few times. Soon, you'll be confidently tackling any shrimp dish, knowing you've prepped it to perfection from start to finish. Happy cooking!
