Are you tired of paying premium prices for pre-peeled and deveined shrimp at the seafood counter? Do the armor-like shells and tiny legs of whole shrimp make you feel like you're about to tackle a culinary challenge too great to overcome? You're not alone. Many home cooks feel intimidated by the process of cleaning fresh shrimp, often opting for the convenience of pre-prepped options, despite the higher cost and sometimes compromised quality.
But what if we told you that preparing your own shrimp from scratch is not only surprisingly easy but also incredibly rewarding? It’s a foundational kitchen skill that, once mastered, will save you money, elevate the flavor and texture of your dishes, and give you the confidence to tackle any shrimp recipe. This comprehensive guide will walk you through how to peel and devein shrimp like a seasoned pro, demystifying each step and explaining exactly why this seemingly tedious task is absolutely essential.
Dispelling the Intimidation: Why Fresh Shrimp is Your Friend
The sight of a whole, uncooked shrimp can be daunting. Its hard, segmented shell, often with tiny legs still attached, can make it look more like a miniature alien than a delicious meal ingredient. If the head is still present, it can appear even more formidable. This initial intimidation is a common hurdle for many aspiring home chefs who didn't grow up on the coast or with a professional chef in the family.
However, beneath that tough exterior lies tender, succulent meat that is far superior in taste and texture when freshly prepared. Pre-peeled and deveined shrimp, while convenient, often lack the vibrancy of fresh shrimp and can sometimes develop a rubbery texture due to being processed and frozen. Taking the few extra minutes to prepare them yourself means you're getting the freshest possible product, ensuring optimal flavor and a delightful snap with every bite. Moreover, the cost savings are substantial. Buying shrimp in its natural state is almost always more economical than purchasing the already cleaned variety, putting more money back in your pocket for other ingredients or culinary adventures.
The Unappetizing Truth: Why Peeling and Deveining is Non-Negotiable
Now, let's get to the 'why must' part of our guide. You might have heard the old adage that cooking shrimp with the shells on adds more flavor. While it's true that shells can impart a certain depth to broths or when boiling shrimp, consuming them directly, especially without deveining, comes with a significant downside that outweighs any perceived flavor benefit. The primary reason for peeling and deveining shrimp is hygiene and palatability.
The dark, sometimes black, string running along the back of the shrimp is, quite simply, its digestive tract. This 'vein' is essentially the shrimp's colon, and it can be filled with everything the shrimp recently ate – including grit, sand, and other waste materials. Imagine biting into a succulent piece of shrimp only to encounter a gritty texture or an unpleasant taste from its digestive contents. Not exactly an appetizing experience, right?
Removing this digestive tract, along with the shell, ensures that you're eating only the clean, sweet meat of the shrimp. It's not just about aesthetics; it's about food safety, enhancing the culinary experience, and ensuring your dish is as delicious as it can be. While it might seem like a small detail, this step makes a monumental difference in the overall quality of your shrimp dishes.
Your Step-by-Step Guide to Mastering Shrimp Prep (The Easy Way!)
Ready to get your hands a little dirty? Here’s a detailed, easy-to-follow guide on how to peel and devein shrimp, ensuring perfect results every time.
Step 1: Head Removal (If Applicable)
If your shrimp still have their heads attached, don't fret. This is the easiest part! Simply hold the shrimp body in one hand and twist the head off with the other. It usually comes off with a gentle pull and twist. Discard the heads, or better yet, save them to make a flavorful seafood stock!
Step 2: Shelling the Shrimp
The shell might look like armor, but it's surprisingly easy to remove.
- Start by locating the legs on the underside of the shrimp. These are generally the weakest point of the shell.
- Gently insert your thumb or a finger under the shell near the legs and begin to crack and pull it away from the meat. Work your way from the head end down towards the tail. You'll feel a slight crack as the shell separates.
- Once you've loosened the shell, it should peel off fairly easily in one or two pieces. For larger shrimp, you might need to be a bit more assertive, but avoid tearing the delicate flesh.
- Tail On or Off? This is entirely up to you and your recipe. Leaving the tail on often provides a beautiful presentation, especially for dishes like shrimp scampi or grilled shrimp, and offers a convenient handle for eating. However, for casseroles, stir-fries, or dishes where the shrimp will be mixed in, removing the tail makes for easier consumption. To remove the tail, simply pinch it firmly and slide it off.
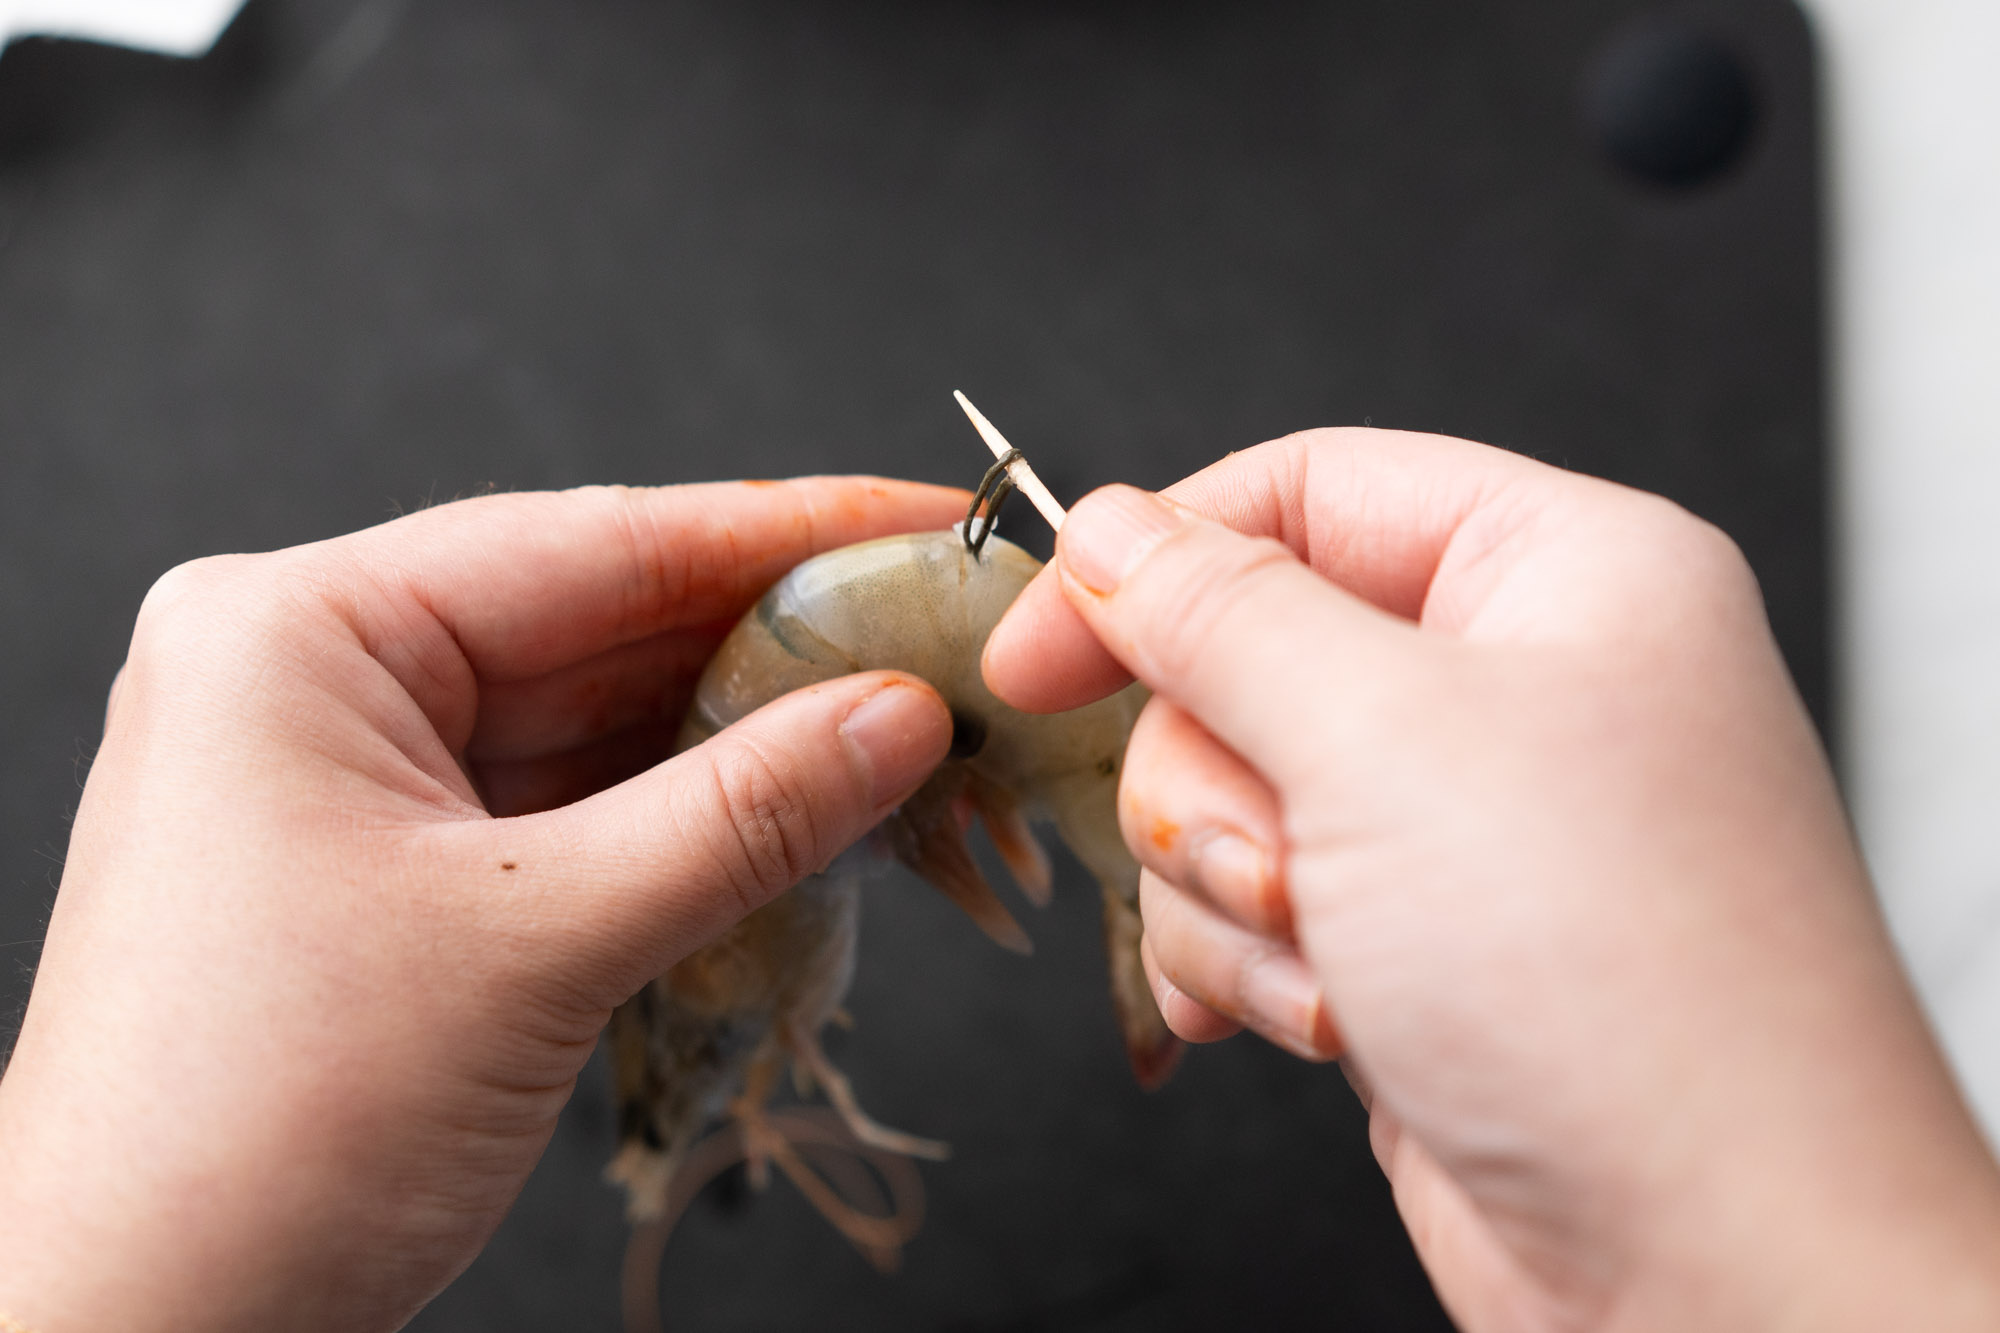
Step 3: The Crucial Deveining Process
This is where we tackle the digestive tract.
- Grab a small, sharp paring knife (a specialized shrimp deveiner tool also works wonders, making this step even quicker).
- Hold the shelled shrimp, belly-side down. Very gently and carefully make a shallow cut along the curved back of the shrimp, from where the head was to just before the tail. You only need to cut through the thin top layer of the skin, just enough to expose the vein.
- Once you see the dark string (the vein), use the tip of your knife or your fingers to gently lift it out. It often comes out in one piece with a gentle pull. If it breaks, simply find the remaining pieces and remove them.
- Important Note: Not all shrimp will have a prominent, dark vein. Sometimes it's very light in color, thin, or even almost invisible. Even if you don't see a significant dark line, it's still a good practice to make the shallow cut and quickly rinse the area, just in case.
Step 4: The Final Rinse
After peeling and deveining each shrimp, give them a quick rinse under a gentle stream of cold water. This washes away any lingering shell fragments, bits of digestive tract, or other debris. Once rinsed, pat them dry with paper towels before cooking or marinating to ensure they sear beautifully and absorb flavors effectively.
Pro Tips for Perfect Shrimp Every Time
Now that you know how to peel and devein shrimp, let's enhance your technique with some expert insights:
- Invest in a Shrimp Deveiner: While a paring knife works perfectly fine, a dedicated shrimp deveiner tool can significantly speed up the process, especially when you're cleaning a large batch. Some home cooks even prefer using kitchen scissors for the back incision. Experiment to find what works best for you!
- Thawing Frozen Shrimp Properly: Most shrimp are sold frozen. The best way to thaw them is overnight in the refrigerator. If you're in a hurry, place the frozen shrimp in a colander under a slow stream of cold running water for about 10-15 minutes, or submerge them in a bowl of cold water, changing the water every 5 minutes until thawed. Avoid hot water, as it can start to cook the shrimp.
- Save Those Shells! Don't throw away the shells and heads (if applicable)! They are packed with flavor and make an incredible base for homemade seafood stock, bisques, or sauces. Simply simmer them with some aromatics (like onion, celery, and carrots) for 30-45 minutes, then strain.
- Batch Processing for Efficiency: When cleaning a large quantity of shrimp, create an assembly line. First, remove all the heads, then peel all the shells, then devein all the shrimp, and finally, rinse them all. This method is much more efficient than completing each step for one shrimp at a time.
- The "Shell-On, Deveined" Exception: For certain dishes like shrimp boils, paellas, or some grilled preparations, you might want to cook shrimp with the shell on for aesthetic or flavor reasons. In these cases, look for shrimp that are "deveined but shell-on" at your seafood counter, or carefully make an incision along the back of the shell to remove the vein while leaving the shell intact. This allows for flavor infusion from the shell without the grittiness.
You're now armed with all the knowledge and techniques required to tackle fresh shrimp with confidence. No more overspending on pre-prepped shrimp or sacrificing flavor and texture for convenience. By understanding how to peel and devein shrimp, you've unlocked a new level of culinary independence and are ready to create delicious, restaurant-quality seafood dishes in your own kitchen.
So, next time you're at the grocery store, head straight for the fresh shrimp. You'll not only save money but also enjoy a superior dining experience. Happy cooking!
